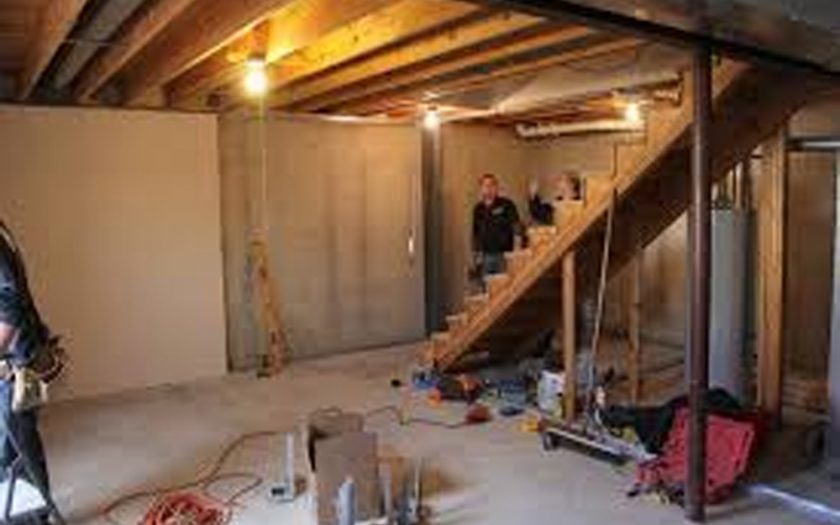
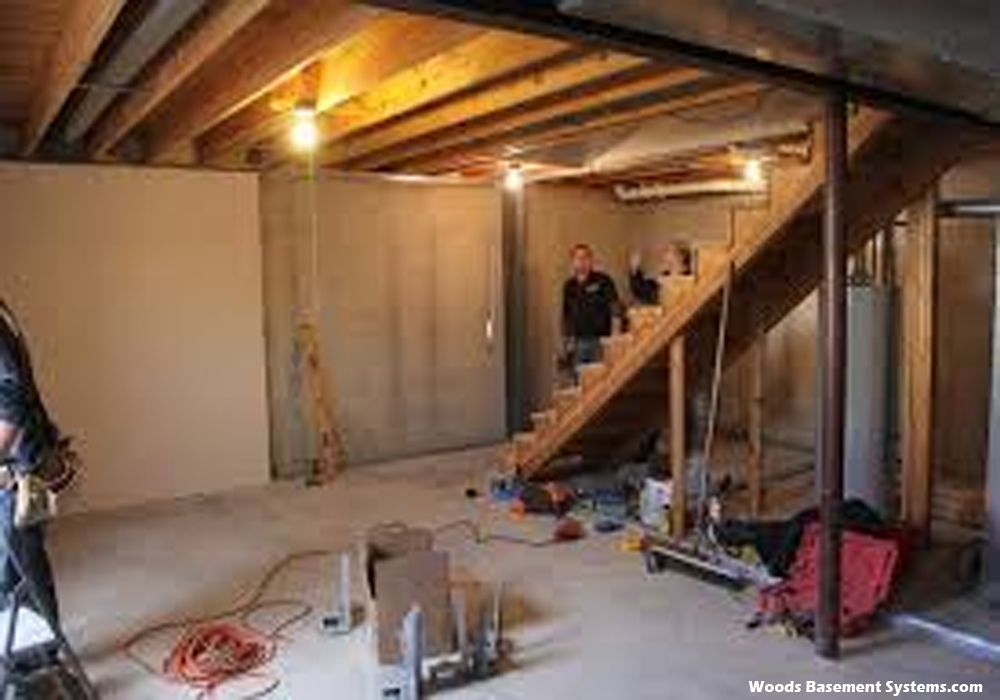
A mentor once explained; “Any schmuck could get into basement finishing, but what separates the pros from your also-rans is the details.”
One professional detail you should know about when completing a basement finishing project may be the approach to gluing and pinning exterior miters.
What does this mean?
Anytime trim material (baseboard, chair rail, crown molding, etc.) circles some other corner (instead of starting an inside corner), the 2 pieces of trim that are to be fit together to perform the corner needs to be miter cut with the appropriate angle.
But don’t be satisfied with simply nailing the 2 components of trim on the wall and hope that you get a decent fit. This is your basement finishing project for shouting loud! The professional will glue both the miter joints together first, then he will pin-nail the joint to produce a durable corner. Only then, are you looking to nail the trim to the wall?
Why each of the fuss about gluing and pinning in the basement finishing job?
Because of how drywall corners must be done, no wall corner is precisely 90 degrees or 45 degrees, or no matter the supposed angle may be. Also, because even 1/32″ in total can ruin the alignment with the joints, you could expect some kind of gap within the joint of your respective trim.
Many installers are o.k. with this particular gap. Just caulk and paint over it people say. However, very soon after caulking and painting, alterations in temperature and humidity (which are common in the basement finishing project) can cause that caulking to shrink, leaving a noticeable gap in your miter joint.
It’s your basement, finishing it using the professional touch is vital to you personally. After gluing and pinning those outside miter joints, the trim will gently bend to adapt for the angle in the wall. Therefore, small levels of imperfection inside the cut or the wall won’t show up in the joint. Caulking works extremely well, but is virtually unnecessary; the joint will paint beautifully.
This technique can also be used elsewhere within your basement finishing project. The casing around your doors includes a miter joint on the top of each corner. Shadow boxes on decorative walls or even in wainscots have miter joints. Drink ledges around rooms or posts all have miter joints.
Give your basement finishing project that “Professional Touch” and make sure your contractor glues and pins all miter joints.
